Seven Simple Stencil Projects
featuring stencils from Ed Roth's newest book, Stencil 201
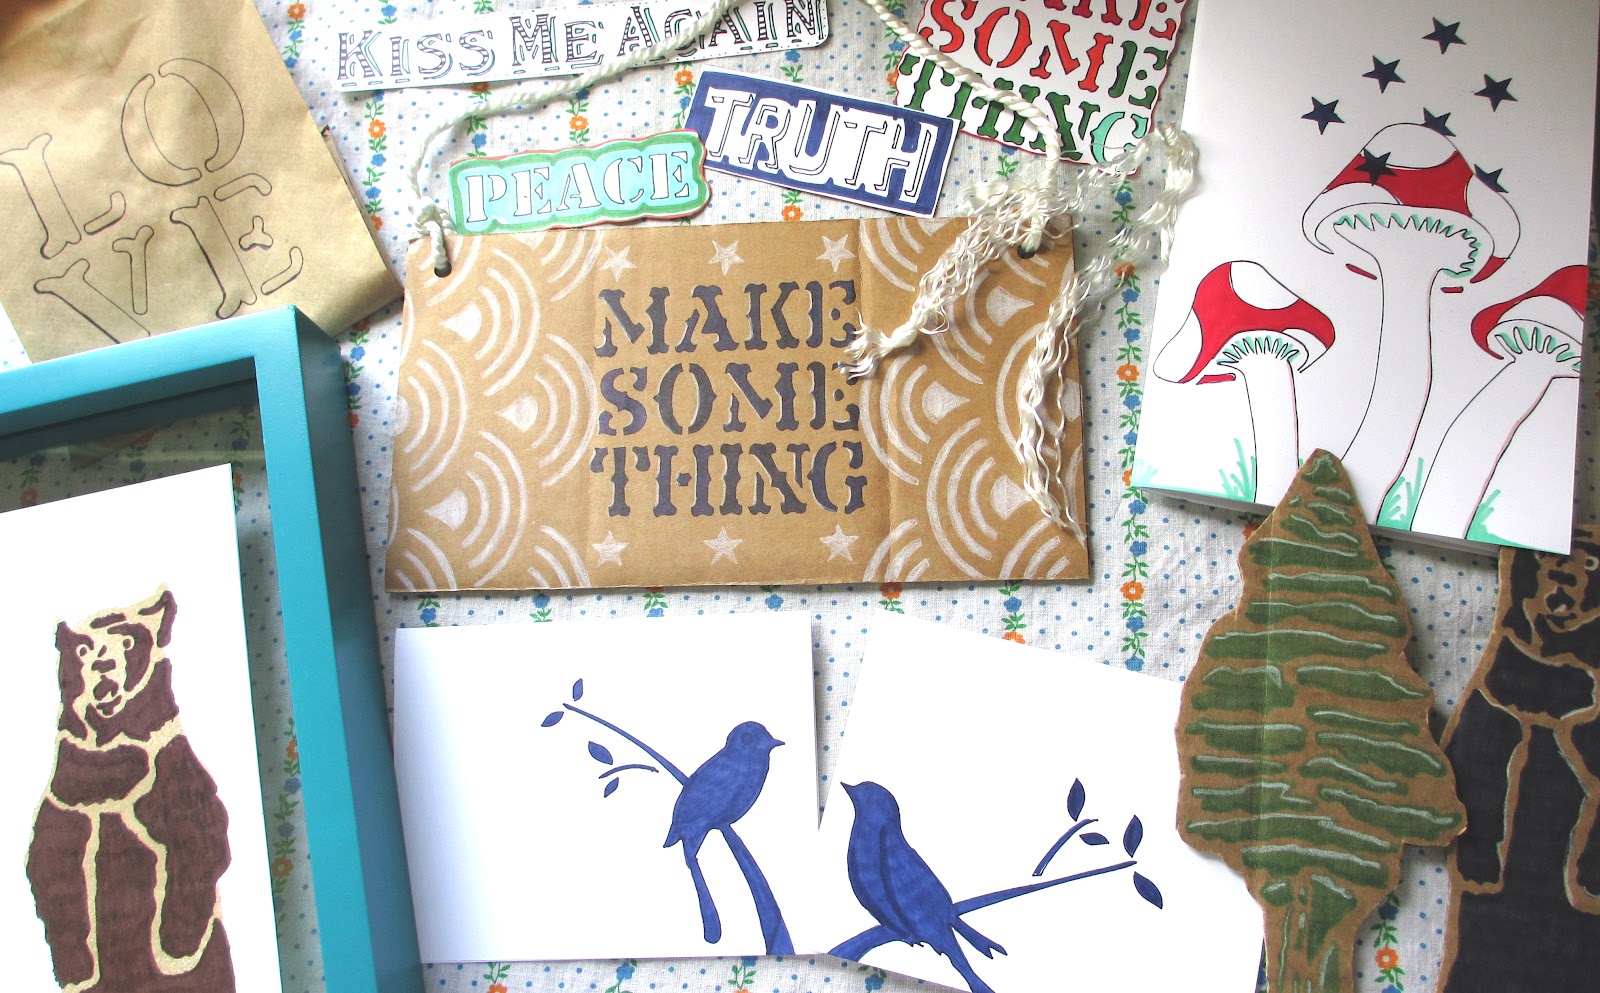
{Projects Shown clockwise, starting in the upper left hand corner}
1. Stenciled Gift Bags
2. Stenciled Stickers
3.Stenciled Journal
4. Stenciled Magnets
5.Stenciled Gift Cards
6. Stenciled Framed Art
7. Stenciled Door Sign

Stencil 201 includes 25 reusable laser cut, plastic stencils, which makes them very long lasting and versatile for use in many different projects. With a copy of this wicked inspiring book and the above supplies, the following Seven projects will turn you, like me, into a stenciling fooool! :)
#1 Stenciled Gift Bags!

Supplies; LOVE Stencil, Two Paper Lunch Bags. Red Sharpie Fine Point, Black Sharpie Ultra Fine Point

Slip a piece of cardboard inside the bag and trace image with ultra fine tip sharpie marker.
Fold top and add ribbon for extra festiveness!
#2 Stenciled Stickers!

Supplies; Phrases Stencil, White Cardstock, Double Stick Tape, Black Sharpie Ultra Fine Point and Assorted Fine Point Sharpie colors, scissors
These make great scrapbooking stickers!
Lay Phrases stencil onto white cardstock and trace each phrase onto sheet, using the black ultra fine point sharpie. Use a post it note to help hold the stencil down onto the cardstock. Remove stencil and color in each phrase according to picture. Use scissors to cut each phrase out and then apply double stick tape to the back.
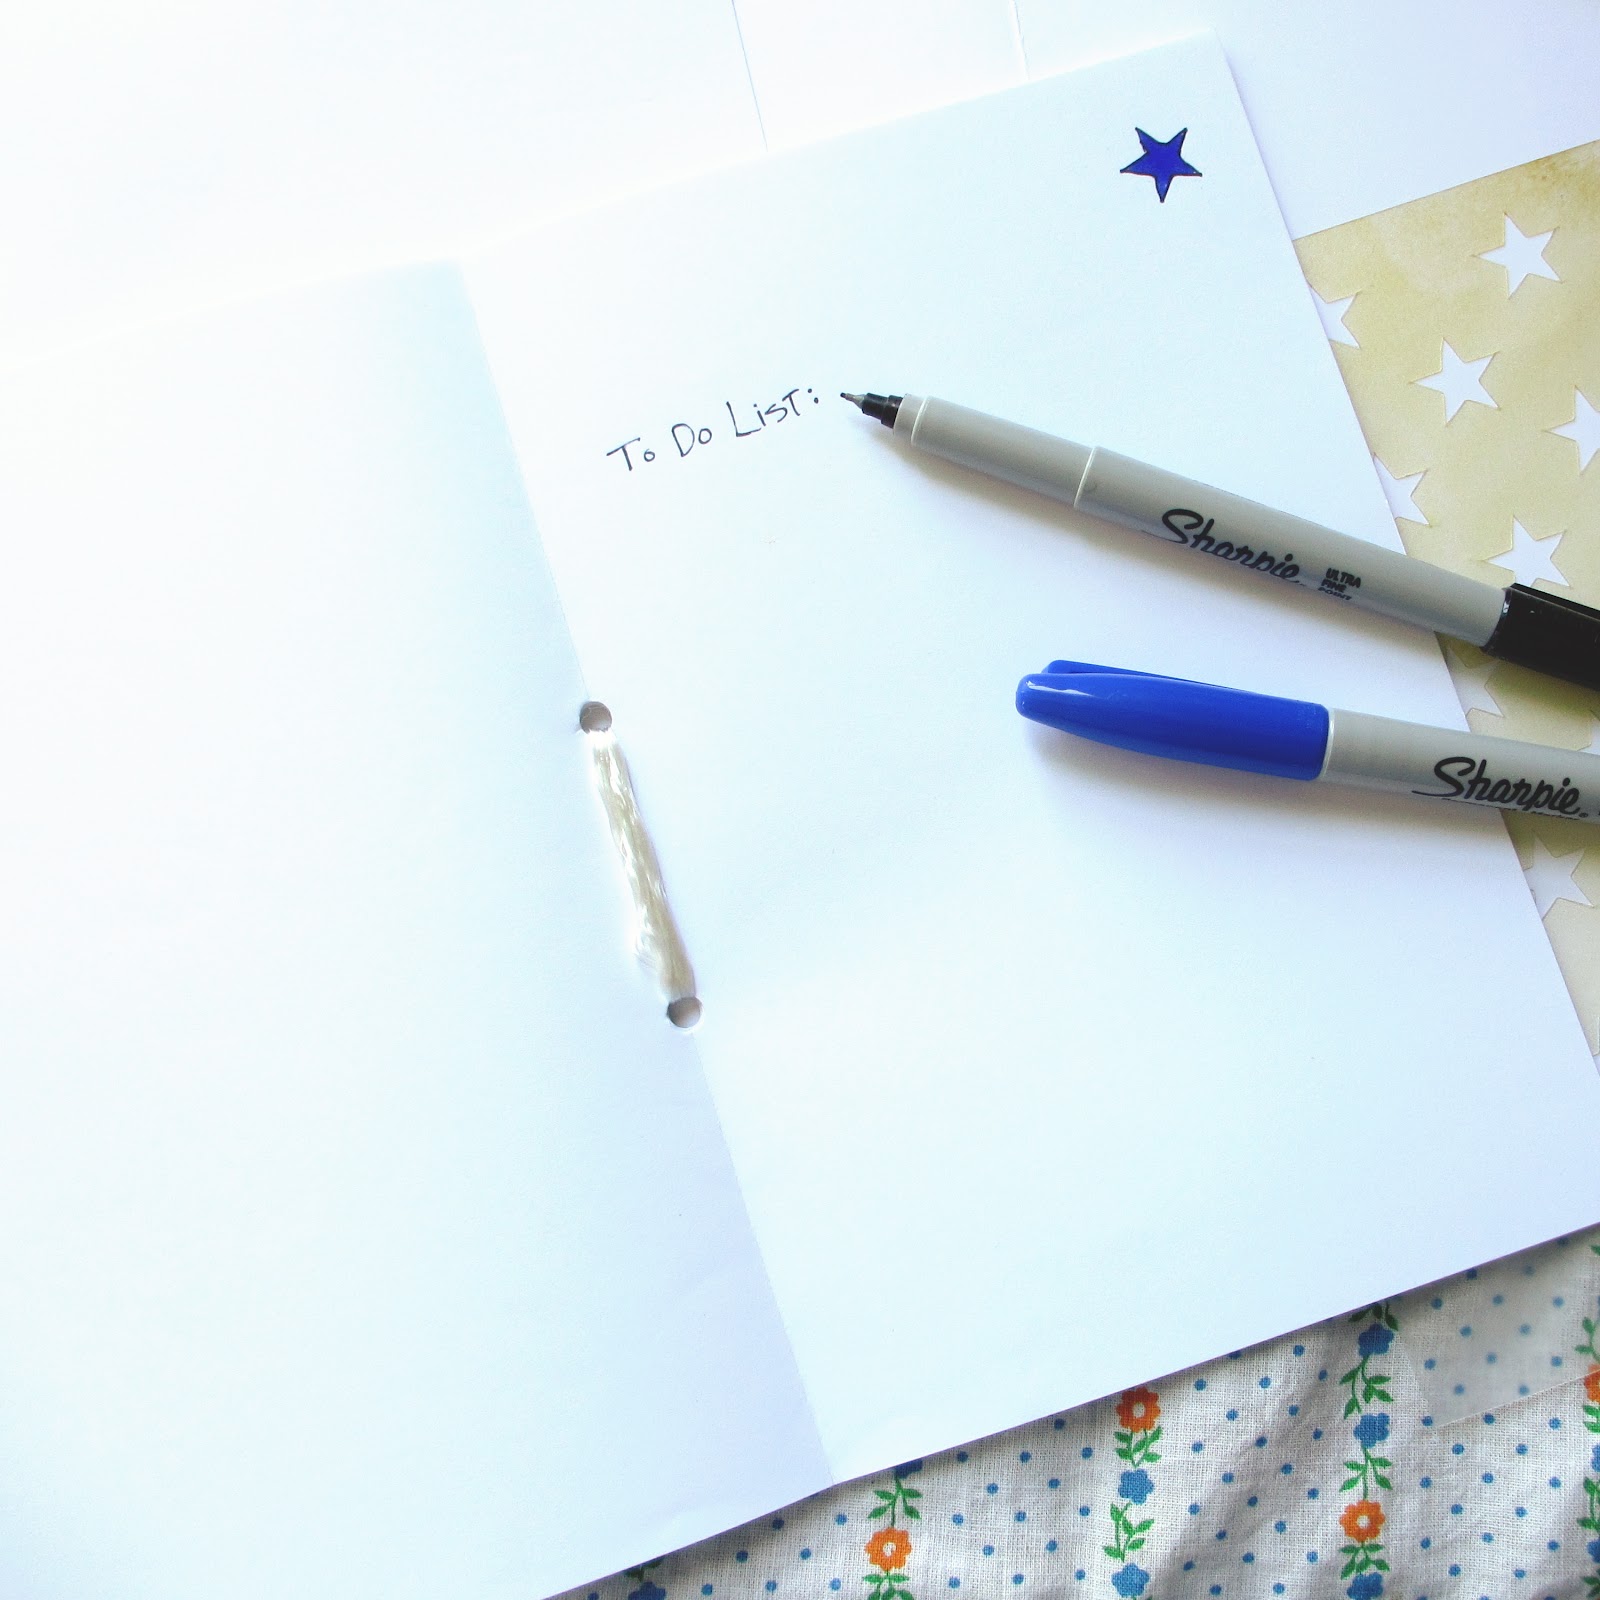
#3 Stenciled Journal!

Supplies; Mushroom Stencil, Star Background Stencil, 1 sheet white cardstock, 10 sheets of copier paper, hole punch, Black Sharpie Ultra Fine Point and Assorted Fine Point Sharpie colors, scissors, rope or string

Lay white cardstock sheet, 81/2 x 11, lengthwise and layer mushroom stencil across the front. Stencil with ultra fine point sharpie, remove and color in. Fold cardstock lengthwise to make a booklet. Fold copier pages in the same orientation. Use a hole punch to bind, by punching two holes along the spine of all of the pages. Feed a thin rope or string through and tie off. I also stenciled a few of the inside pages, just for fun!
#4 Stenciled Magnets!

Supplies; Black Bear Stencil, Tree Stencil, Cardboard sheet, Magnets, Black Sharpie Ultra Fine Point and Assorted Fine Point Sharpie colors, scissors, white color pencil

On a piece of cardboard, I used a piece from a shipping box, stencil Bear and Tree using black Sharpie ultra fine point. Use the white color pencil to add highlights to the design. Cut out with scissors along the lines of the design and adhere magnet to back.
#5 Stenciled Gift Cards!

Supplies; Bird on Branch Stencil, White Cardstock sheet, Black Sharpie ultra fine point, Navy Blue Sharpie fine point, scissors

Lay Bird On Branch stencil onto white cardstock, in the landscape orientation. This design will go across the whole page, creating two cards at once. Stencil with black Sharpie ultra fine point, remove and color in with navy blue Sharpie fine point. Cut cardstock in half along the 11" side, creating two panels. Fold this panel in half to create an A2 sized gift card.
#6 Stenciled Framed Art

{This is a fun example of how you don't always have to use the whole stencil. }
Supplies; Black Bear Stencil, Stencil 1 Spray Brown, White Cardstock, Scissors, Frame

Use the Stencil 1 spray on the solid part of the Bear stencil on the white cardstock, which is cut to the size of the frame. Add the detail with Sharpie markers.
#7 Stenciled Door Sign

Supplies; Phrases Stencil, Star Background Stencil, Waves Backround Stencil, Cardboard, Black Sharpie ultra fine point, Navy Blue Sharpie fine point, White color pencil, hole punch, rope, scissors

Cut a rectangle piece of cardboard, like a panel from a shipping box, and stencil Make Something phrase with the black Sharpie ultra fine point. Remove stencil and color in with Navy Blue Sharpie fine point markers, add highlights with white colored pencil. Use the white colored pencil to stencil stars and wave background. Punch holes in each of the top two corners and tie rope to hand from your craft room door!


great post. i want to make some magnets asap! i love all the different ideas..and the make something sign is to die for;-)
ReplyDelete